Let's take mending back to basics!
If you're thinking about getting your repair on and learning how to start mending your clothes at home, learning how to sew a button is step one - it's not even really a repair! But it is a super useful skill to have in those nightmare moments when a button pops off your shirt when you're about to walk out of the door; we've all been there.
Luckily, our Clothes Doctor seamstresses have got all the sewing know-how to help teach you how to sew a button, so there'll be no more loose threads hanging off your sleeves - here's how to sew a button.
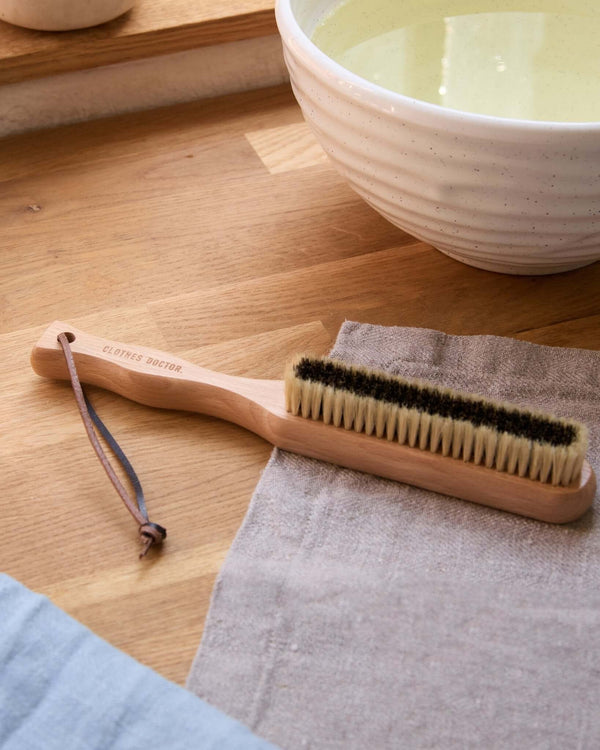
To sew a button, you will need: scissors, thread, needles, a button(s).
To sew a button, you will need: scissors, thread, needles, a button(s).
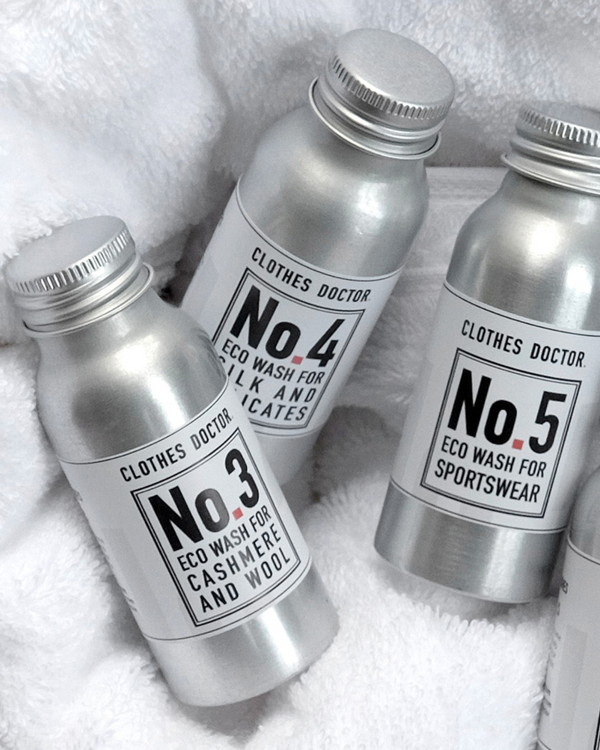
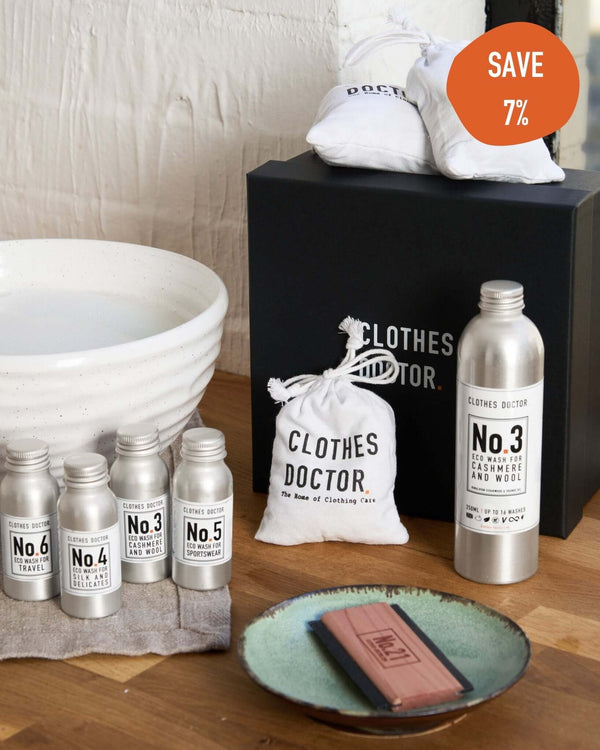
Before we start, if you're looking to repair some needy knitwear, or just looking to expand your sewing supplies collection, get hold of our Darning Needle Set, the ultimate beginners set for fixing all sorts of knitwear catastrophes.
Each set comes with a needle guide to help you with which type of needle to use for different types of repair, and a QR code linking you to a video tutorial that details everything you need to know to begin mending - easy or what?! Today, learning how to sew a button, tomorrow, fixing your whole wardrobe!
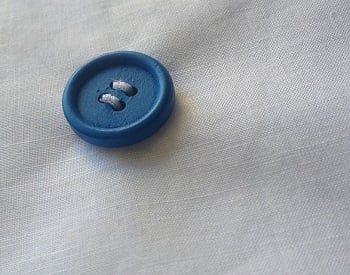
1. Choose your button: We just love opening a drawer full of generations of collected buttons. Flat, wooden, metal, toggle, fabric-covered... the options are endless, so why not reinvent an old baggy jumper and create a mismatched funky buttons look? Alternatively, scour the floor to find the button that's just pinged off your shirt!
2. Thread your needle with 4 strands of cotton thread. Use a thicker thread than you normally would to sew. (Not cheating if you use a larger needle). This cuts down your time a whole lot - if you think about it you’re sewing 4 times at once and makes the cotton stronger.

3. Pull off quite a bit of thread. Get the 2 ends of your cotton, put them together, put both ends though the needle, then pull through. Loop right around your baby finger to get your ends even and tie a knot near the end.

4. Button and garment lined up, hold it gently, pop your needle in bring your cotton through the button hole, leaving your needle in place, and that will then put you exactly in line with where the button needs to go
5. Lay your button on, come up through one button hole, go in through the other, if you’re feeling underneath, feel the next hole to come up. (look to the front and put my needle in from the back) Stitch it on with either a criss-cross effect for a 4 holed button, or horizontal effect stitch 2 hole. Keep going until you feel the button is on securely.
6. Put your needle through to the back and finish off by tying a loop in the thread and pulling it tight whilst sliding it up against the fabric so that it’s secure, then snip the threads leaving a short tail so that it doesn’t unravel easily with our beautiful brass-handled scissors.
Tah-dah! Now you know how to sew a button - you're on your way to becoming a mending pro. If you would like a video tutorial of how to expertly sew a button, then check out our YouTube video here.
Now, we're all for mending your garments at home, but if you've got a clothing catastrophe that's gotten out of hand, our superstar seamstresses are here to help. From mending a hole in a coat, to hemming a dress, to re-lining a suit jacket, they can pretty much do it all! All you have to do is request a quote, send off your item, and you'll receive it back in 7-10 days looking as good as new!
For more expert clothing care tips explore more of our blogs. For our whole range of detergents, mists, tools and accessories that are perfect for every type of fabric, explore our whole range.

: invalid url input -->)