Now the Tour De France is in full swing, many of us are feeling inspired to get out on the road. But what happens when those high performance garments that we love hit the tarmac, with us inside?!
Firstly, take care of yourself. Your own health always comes first. Next, read our blog to discover our guide to recovering your cycling gear after a crash, in partnership with our friends CHPT3.
DIRT AND STAINS
After any cycling trip, there will inevitably be some kind of stain on your kit. Here's how to tackle some of the most common dirt and stain problems!
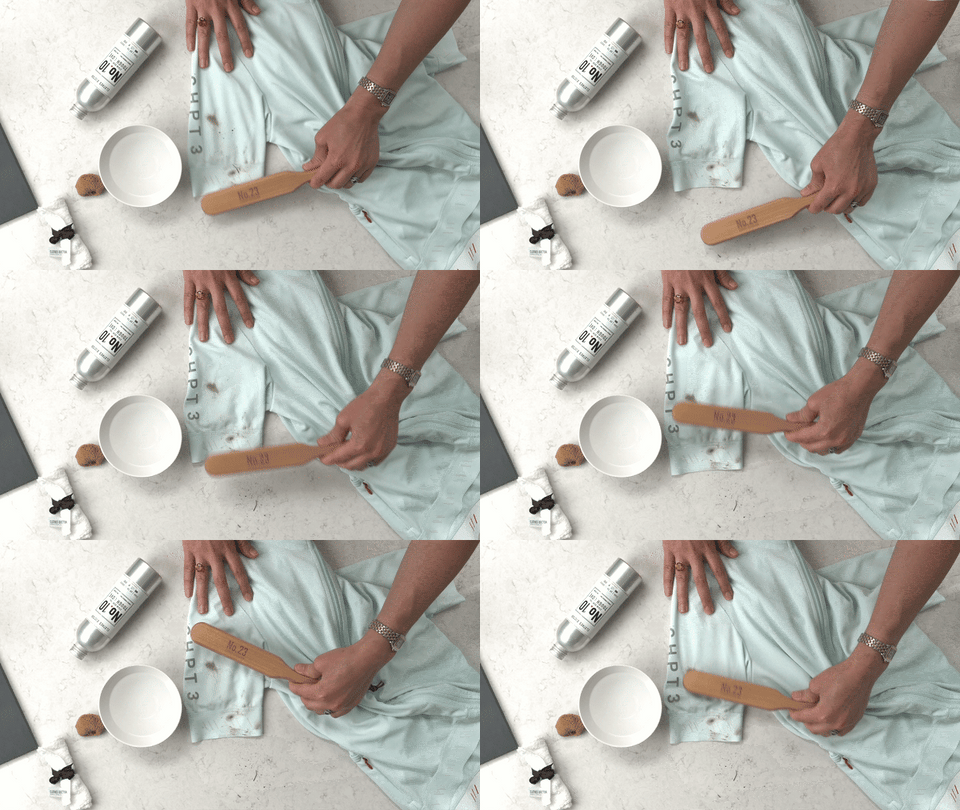
- Surface dirt and grit: If there's grit sitting on the surface of your kit, you'll want to wait for it to dry (if mud is involved) and brush it off, before washing the garment. Grab our Natural Bristle Clothes Brush and brush gently in one direction to remove surface dirt - you'll want to do this outside, or over a sink, so you don't spread the mud all round your house!

- Blood stains: If there are blood stains on your garments, the key is to tackle them as soon as possible (after patching yourself up of course!) You'll want to get hold of our Tough Love Stain Removal, our 'power powder' for all the trickiest marks and stains. It’s kinder to the environment than chlorine-based stain treatments, is totally plastic-free, and of course, is super effective at lifting stains.
All you have to do is:

- Submerge the affected are into a bowl of warm water and add a capful of stain remover.
- Massage gently with your fingers, or our Natural Sea Sponge, and leave to soak for an hour.
- The stain should be lifted, but repeat this process until it has completely vanished, and then wash the garment as normal.

- Oil stains: If an oil stain is fresh, remove excess liquid with a piece of kitchen towel or tissue. You'll need our Tough Love Stain Removal again, but instead of submerging the stain in water, simply dab it with water until its damp, not wet, as oils can be water-repelling. Add a capful of stain remover to the area, massage, and leave for an hour. Then, wash as normal.
*Top tip: Make sure to air dry garments with stains until you're sure the stain is completely gone, as the temperature in machine dryers can cause the stain to set further.

Are nasty odours lingering in your sportswear getting you down? Read our top tips for keeping your sports clothes stink-free and fresher for longer.
MENDING AND REPAIRS
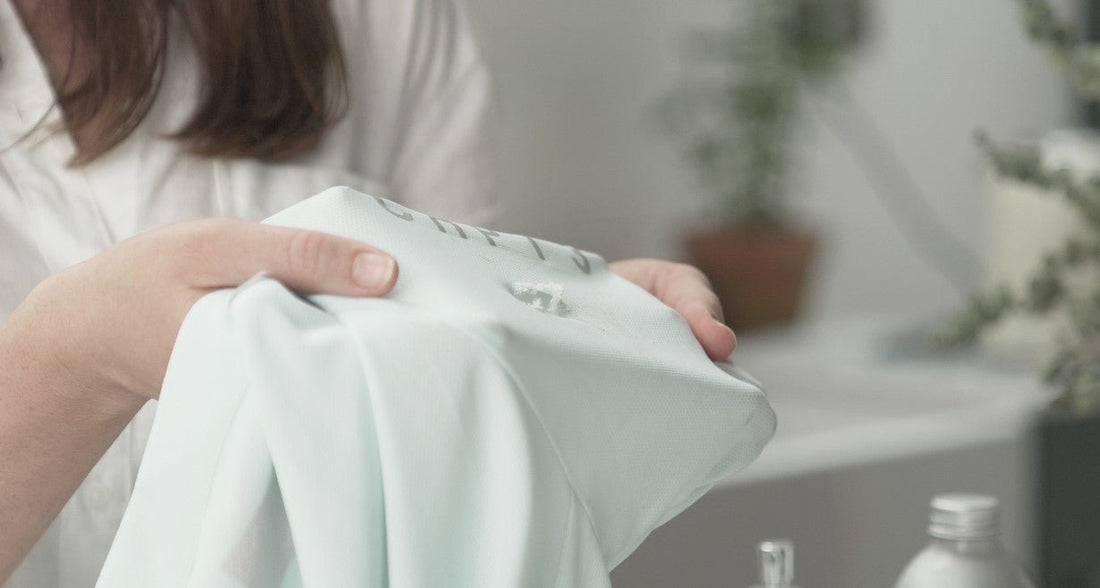
After cleaning up the dirt and stains, you might notice some rips or holes in your kit. Here are some tips on how to sort out repairs in no time!
1. Repair a seam

Seams are the joints of your garments, so inevitably these are the weakest point. That's why the most common repairs we receive are on seams. Luckily, this is super simple to fix, all you need to do is follow these steps:
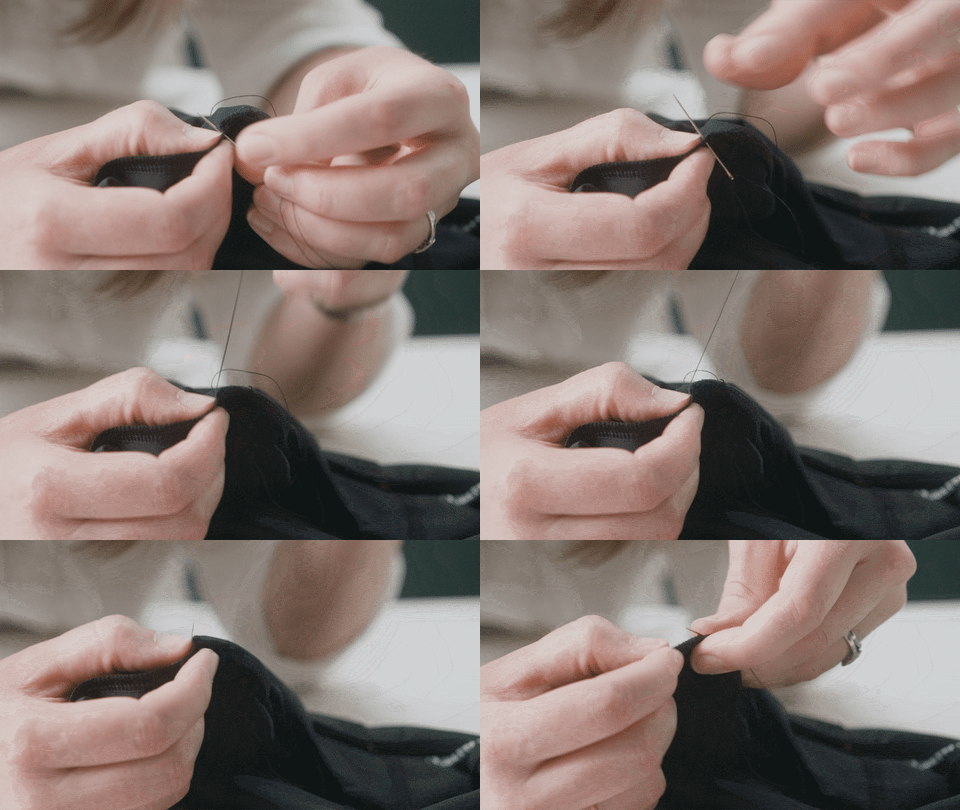
- Grab a sharp needle and thread of a matching colour
- Turn garment inside out and tidy up any loose threads on the inside
- Tie a knot in the end of your thread and start stitching over any of the loose threads to secure them, working your way up the seam.
- Once you're done, go over the final stitches a few times and cut your thread.
Very quick and simple, but this will keep your garment in use, for years to come. If you're unsure on how to do this at home, just pop it over to our seamstresses and they'll help you out.
2. Fix a faulty zip

Zips can be temperamental, especially if your clothes have gone through an accident. There are many reasons a zip could be faulty, and you can fix a lot of them simply with some tweezers or plyers and a steady hand. Find out how to tackle the most common zipper problems here.
3. Fix a hole with patch

Damages like big holes on your garment will need a patch. You can have a go at home by watching our tutorial on how to fix a hole with a patch.
Or you can send it to our team of experts seamstress, who are extremely skilled dealing with high performance fabrics. Just request a quote on our website!


